세일즈포스 사용자 정의 알림 (Salesforce Custom Notification) 설정 및 구현
세일즈포스 릴리즈 Winter 21`이 되면서 Apex에서 사용자 정의 알림 보내기가 이전보다 간단해졌습니다.
이번 시간에는 사용자 정의 알림 보내는 방법을 설명합니다.

사용자 정의 알림은 무엇일까요?
사용자 정의 알림은 Salesforce 오른쪽 상단 모서리에 있는 작은 벨에서 연결할 수 있는 짧은 메시지와 함께 사용자에게 알림을 보내 Salesforce 내부에 정보를 전달하는 방법입니다.
1. 설정 > 알림 빌더 > 사용자 정의 알림 메뉴를 선택합니다.

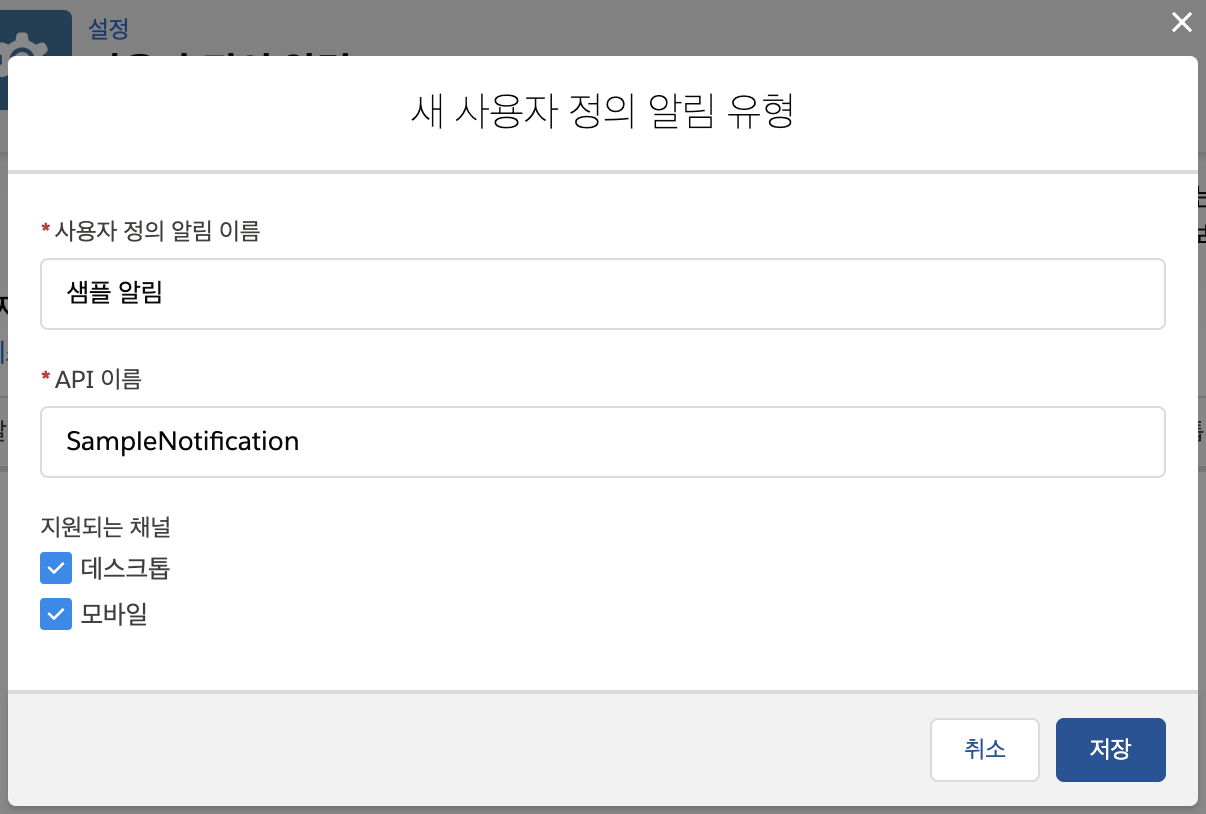
2. 새로 만들기를 클릭하여 새 사용자 정의 알림 유형을 만듭니다.
사용자 정의 알림 이름과 API 이름을 입력하고, 지원되는 채널을 용도에 맞게 선택하고 저장합니다.

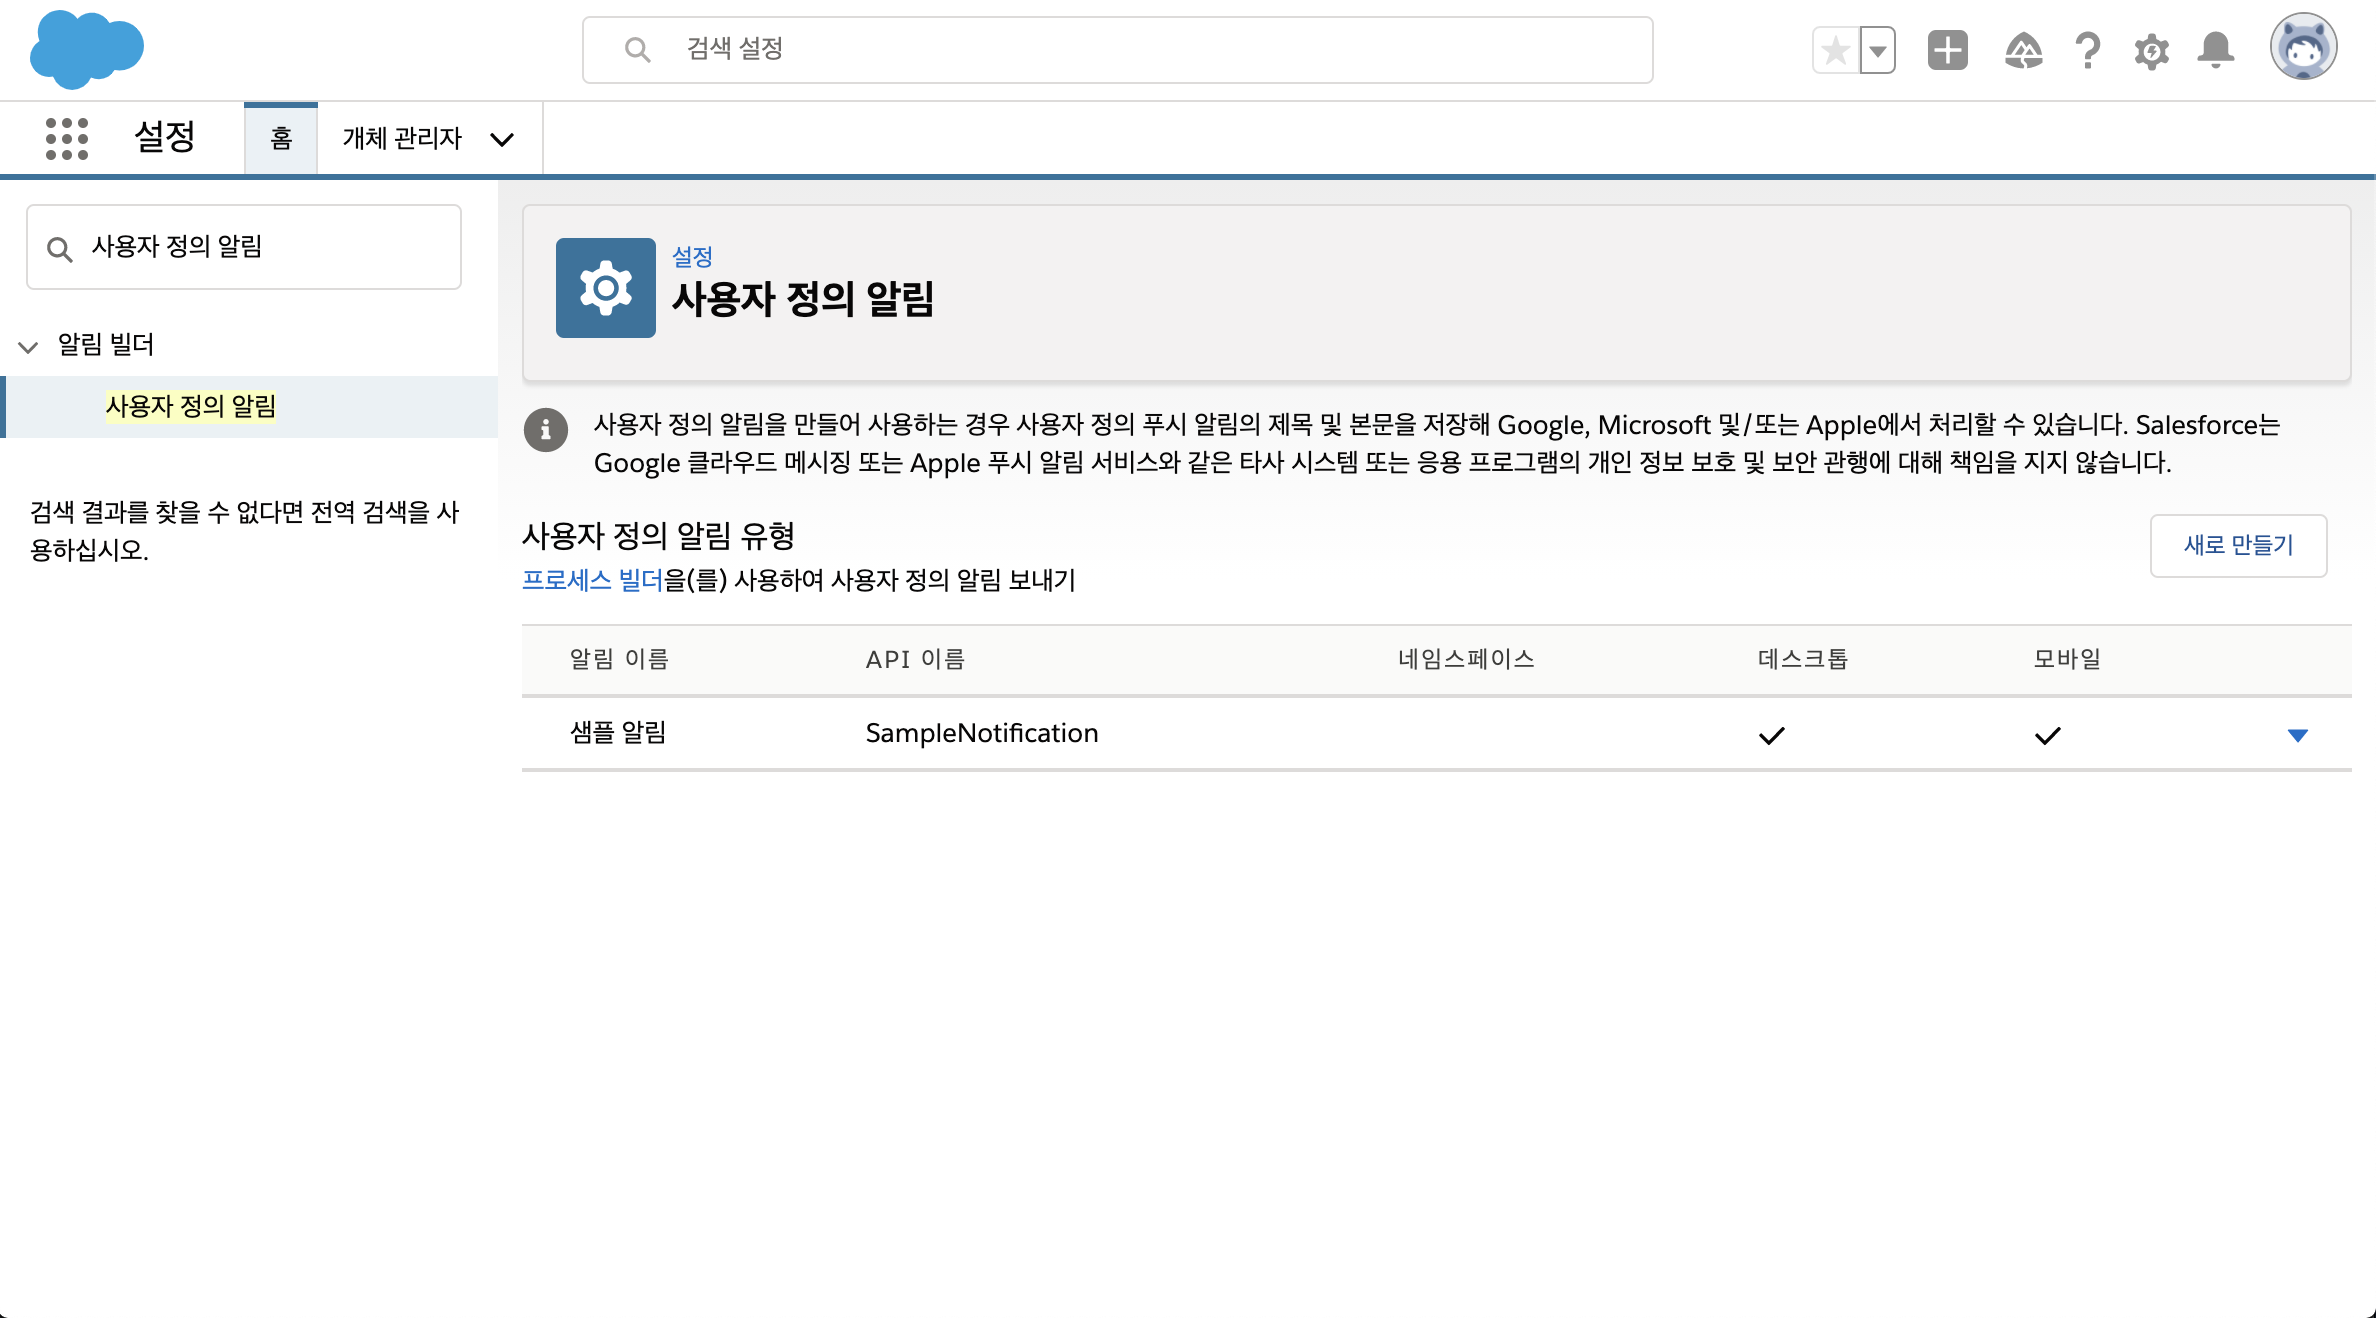
3. 등록된 알림 목록이 보입니다.
이제 APEX와 프로세스 빌더 등에서 해당 알림을 사용할 수 있습니다.

4. 아래와 같이 UTIL_Notification 이름의 Apex Class를 생성합니다.
global without sharing class UTIL_Notification {

    @future(callout=true)
    global static void calloutNotiSend(String notiTypeDevName
                                       	, String targetId
                                       	, String targetPageRef
                                       	, String title
                                       	, String body
                                       	, Set<String> userIds)
    {
        CustomNotificationType type = [SELECT Id FROM CustomNotificationType WHERE DeveloperName = :notiTypeDevName];

        Messaging.CustomNotification notification = new Messaging.CustomNotification();

        notification.setBody(body);
        notification.setTitle(title);
        notification.setSenderId(Userinfo.getUserId());
        notification.setNotificationTypeId(type.id);
        if(String.isNotEmpty(targetId)) {
            notification.setTargetId(targetId);
        } else {
            notification.setTargetPageRef(targetPageRef);
        }
        try {
            notification.send(userIds);
        }
        catch (Exception e) {
            System.debug('Problem sending notification: ' + e.getMessage());
        }
    }

    global static void unCalloutNotiSend(String notiTypeDevName
                                       	, String targetId
                                       	, String targetPageRef
                                       	, String title
                                       	, String body
                                       	, Set<String> userIds)
    {
        CustomNotificationType type = [SELECT Id FROM CustomNotificationType WHERE DeveloperName = :notiTypeDevName];

        Messaging.CustomNotification notification = new Messaging.CustomNotification();

        notification.setBody(body);
        notification.setTitle(title);
        notification.setSenderId(Userinfo.getUserId());
        notification.setNotificationTypeId(type.id);
        if(String.isNotEmpty(targetId)) {
            notification.setTargetId(targetId);
        } else {
            notification.setTargetPageRef(targetPageRef);
        }
        try {
            notification.send(userIds);
        }
        catch (Exception e) {
            System.debug('Problem sending notification: ' + e.getMessage());
        }
    }
}
5. 아래의 예제는 실제 다른 코드에서 호출해서 사용할 때의 예시입니다.
// Trigger에서 비동기 호출 시
UTIL_Notification.calloutNotiSend(
    'SampleNotification'
    , System.UserInfo.getUserId()
    , null
    , '알림 제목'
    , '알림 내용입니다.'
    , new Set<String>{
        System.UserInfo.getUserId()
    }
);

// Batch나 Controller에서 동기방식 실행 시
UTIL_Notification.unCalloutNotiSend(
    'SampleNotification'
    , null
    , '{"type": "standard__objectPage","attributes": {"objectApiName": "Account","actionName": "home"}}'
    , '알림 제목'
    , '알림 내용입니다.'
    , new Set<String>{
        System.UserInfo.getUserId()
    }
);
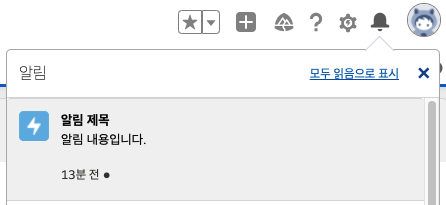
6. 아래는 알림 결과입니다.

지금까지 사용자 정의 알림 보내는 방법에 대해서 알아봤습니다.
예제처럼 Util Class로 만들어서 필요한 부분에 적절히 사용하시면 됩니다.
CustomNotification Class | Apex Developer Guide | Salesforce Developers
Learn about Salesforce Apex, the strongly typed, object-oriented, multitenant-aware programming language. Use Apex code to run flow and transaction control statements on the Salesforce platform. Apex syntax looks like Java and acts like database stored pro
developer.salesforce.com
pageReference Types | Lightning Aura Components Developer Guide | Salesforce Developers
Create Aura components for Salesforce for Android, iOS, and mobile web and Lightning Experience with JavaScript and Apex. Components can be used in standalone apps, Visualforce, Lightning App Builder, and Experience Builder.
developer.salesforce.com